Other included items:

Masonite template

Allen key

(3) 6" anchor bolts
Included instructions

(6) Washers

(6) Nuts
Warnings - Caution
Read and follow ALL safety installation instructions.
- DANGER - Risk of shock: Disconnect power before installation.
- This luminare must be installed inaccordance with the NEC or your local electrical code.
- CAUTION - Risk of fire.
Step 1
Disassemble
Before starting, please loosen screws with allen key and remove head and base of bollard.

Step 2
Pre-pour cement
Foundation should be a minimum of 12" in diameter, finished level and smooth, with a depth below grade of 24". Supply leads must extend a minimum of 31" above top of finished foundation.

Step 3
Insert anchor bolts
Provided are (3) 6" long anchor bolts and masonite template. Anchor bolts should project 2" above the wet concrete.

Step 4
Place template
Use masonite template to set anchor bolts at proper location while cement is still wet.

Step 5
Let achors set
With provided masonite template, let anchors set in wet cement.

Step 6
Remove template
Wait for cement to dry. Gently remove masonite template.

Step 7
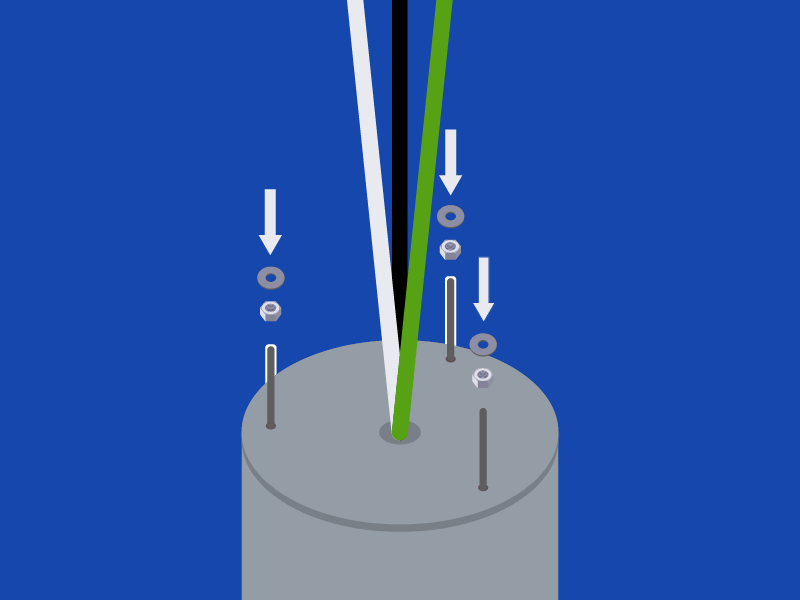
Place nuts & washers
Install leveling nuts and washers on anchor bolts.
Step 8
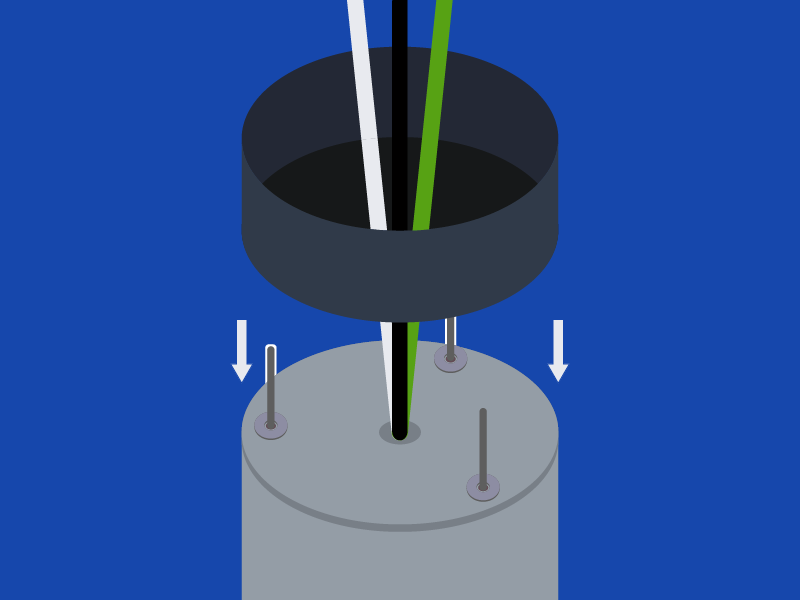
Place bollard base
Install bollard base casting over anchor bolts and leveling nuts. Insert supply leads into bottom of extrusion and push leads through the tube.
Step 9
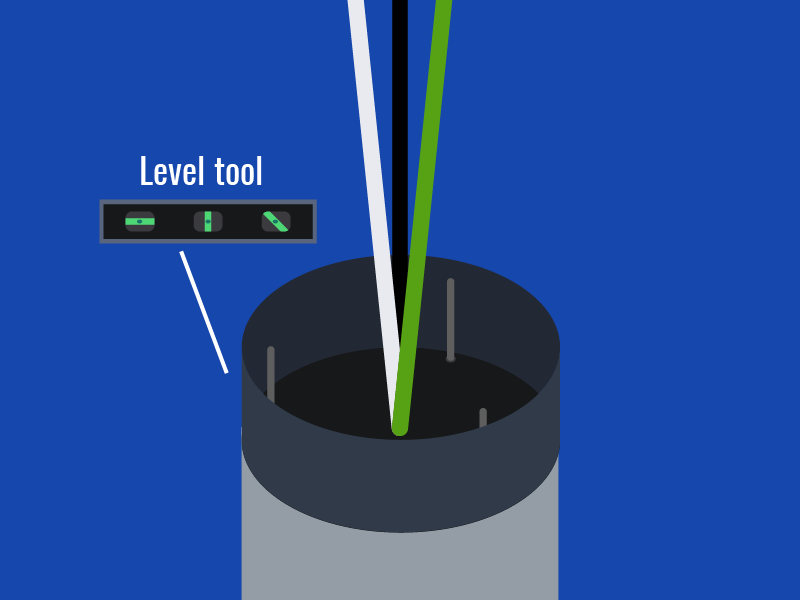
Level base
Ensure base casting is leveled at this time.
Step 10
Place washers & nut
Install tightening nuts and washers on anchor bolts.

Step 11
Slide on bollard body
Install bollard pole to base casting by sliding pole over base casting.

Step 12
Tighten screws
Tighten (3) 5/64" set screws that were loosened.

Step 13 A
Connect wiring 120/277V
Connect supply leads to the power leads on the bollard head.
Phase to neutral wiring 120/277V
- Connect supply ground to fixture ground (green) lead.
- Connect supply common to fixture neutral (white) lead.
- Connect supply Vin to fixture hot (black) lead.

OR
Step 13 B
Connect wiring 208/240V
Connect supply leads to the power leads on the bollard head.
Phase to neutral wiring 208/240V
- Connect supply ground to fixture ground (green) lead.
- Connect supply common to fixture neutral (white) lead.
- Connect supply Vin to fixture hot (black) lead.

Step 14
Attach top & wiring
Carefully insert bollard head back into bollard extrusion, being careful not to pinch any leads. Push down on bollard head.

Step 15
Re-tighten set screws
Retighen set screws that were loosened.

Step 16
Light it up!
Turn your power back on and light your new e-conolight LED bollard.


